
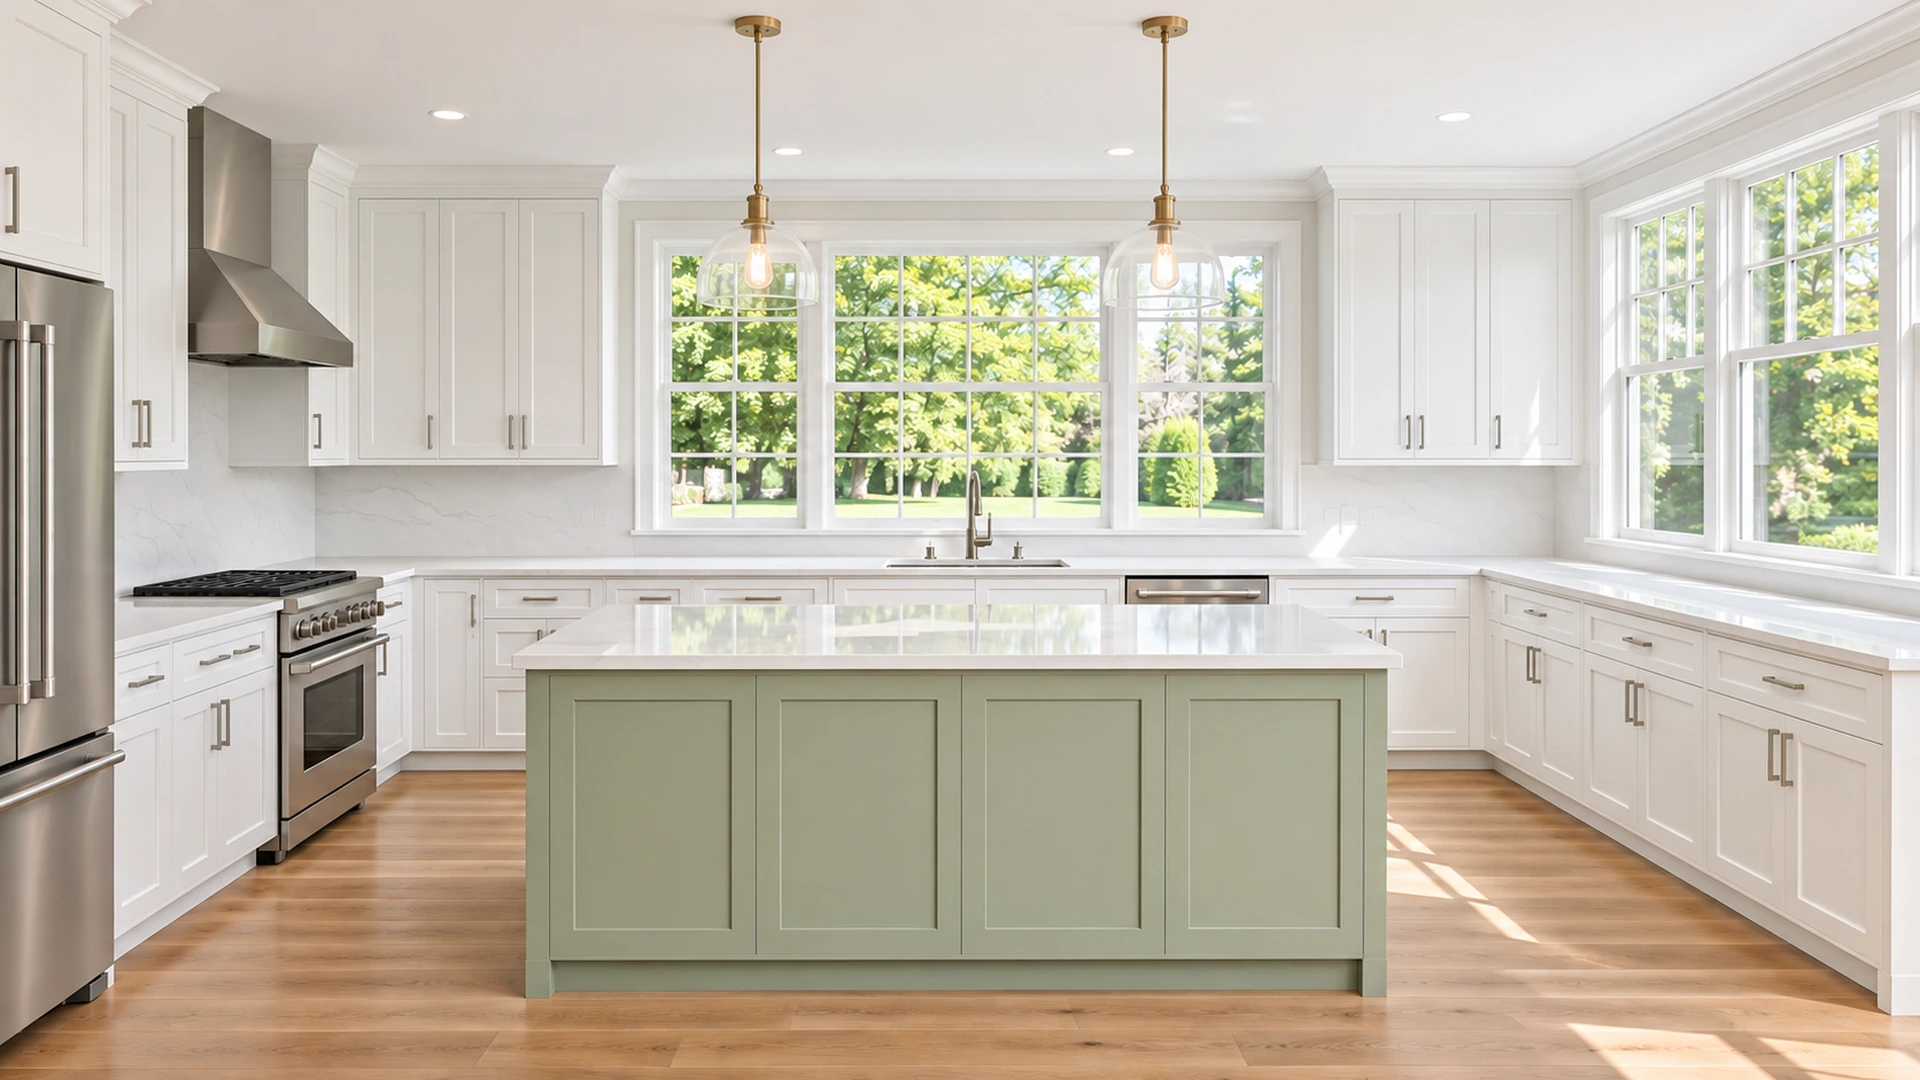
You wipe the kitchen counter, put the cloth away, and notice a thin gray line along the bottom of a cabinet panel. From across the room, the door looks clean. Up close, that little recessed edge has collected dust that a quick wipe across the flat front never reached. If this is the spot bothering you in your Tinton Falls kitchen, give it a small, separate cleaning pass.
You don't need to empty the kitchen or scrub every cabinet. Start with a few reachable doors where you can see the buildup clearly. A cabinet front has seams, corners, hardware, and a finish worth protecting. Taking a closer look first makes it easier to decide what you can safely clean and what should stay untouched.
Look at the edge before choosing a cleaner
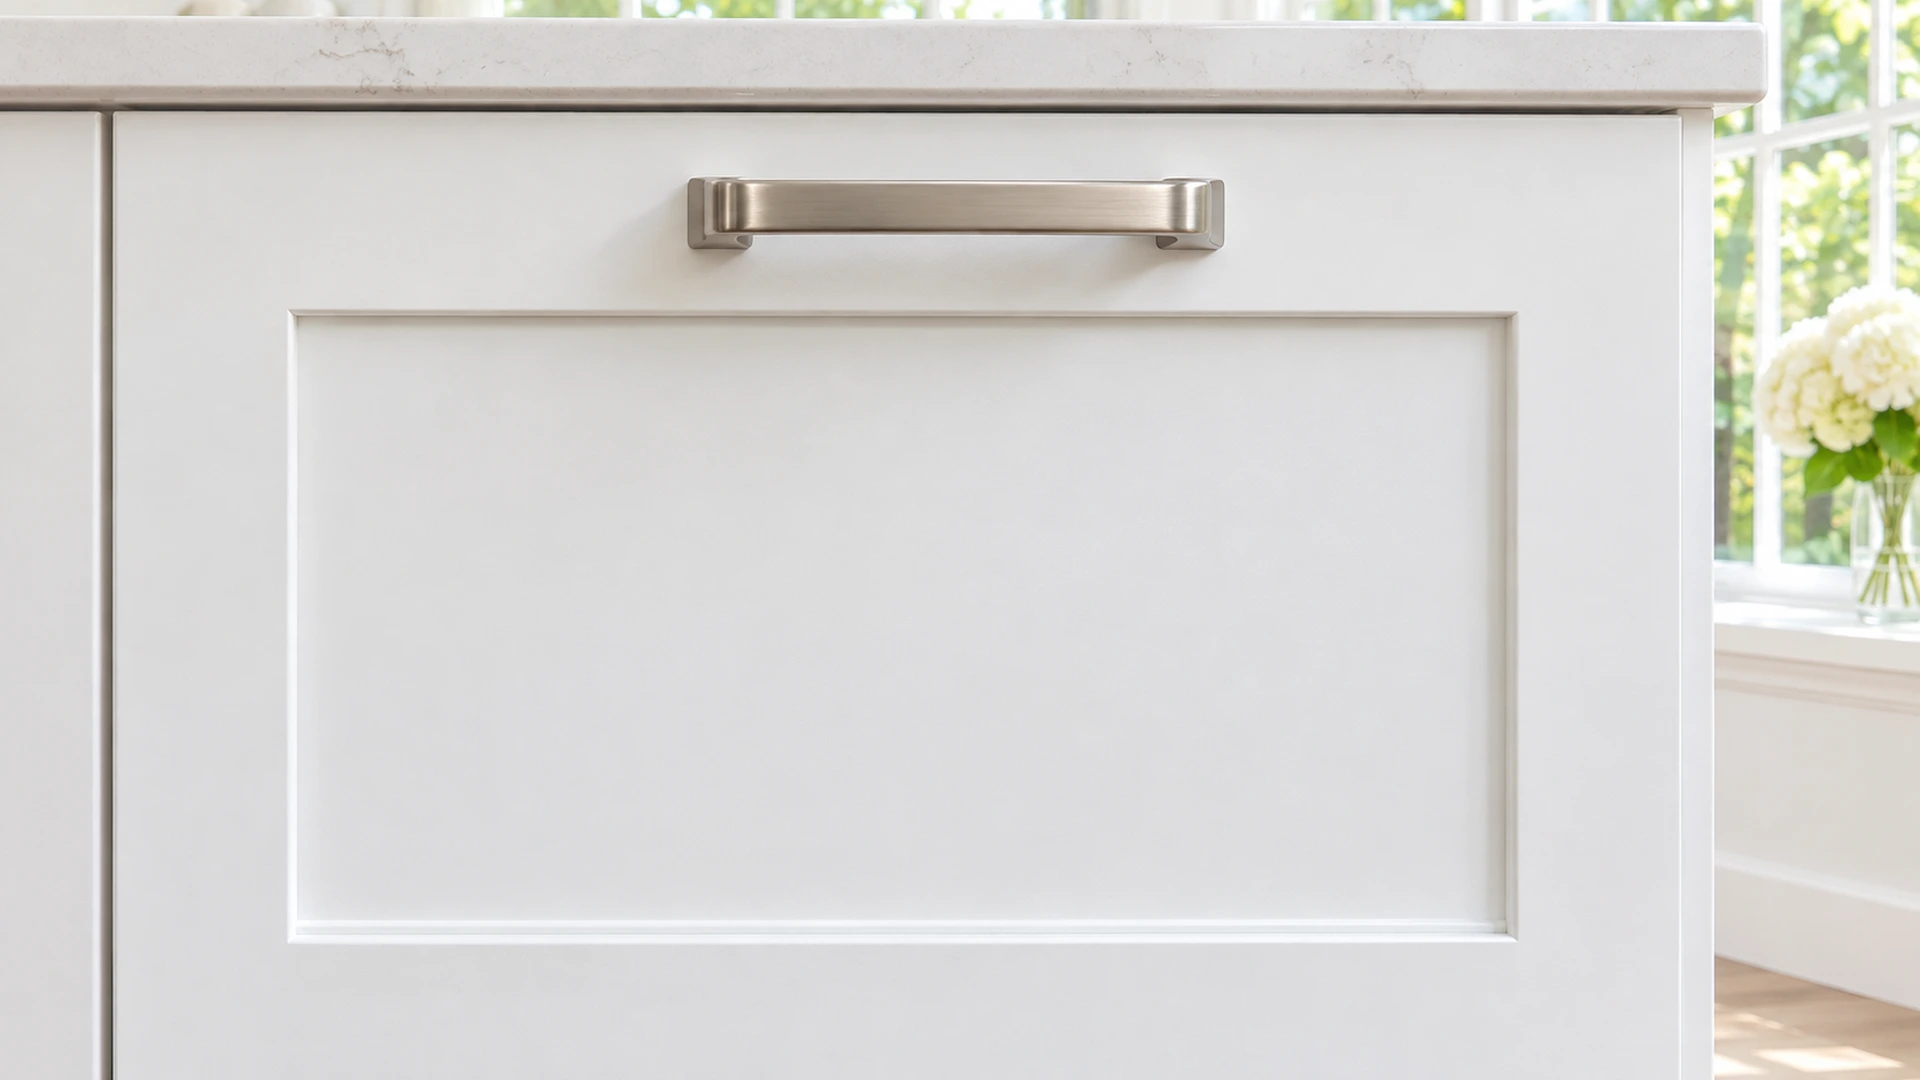
Shaker-style doors have a flat center surrounded by a frame. The narrow edges around that panel can catch loose dust, while areas near handles may have a different kind of residue. Notice whether the line sits on the surface or follows a crack, chipped edge, or change in the finish.
Find the cabinet maker's care directions if you have them. Painted wood, wrapped surfaces, and other cabinet materials don't all take the same treatment. If you cannot identify the finish, hold off on strong products and abrasive tools. A dark line that stays after gentle cleaning isn't a reason to keep rubbing harder.
Make room for one manageable section
Move the stool, wastebasket, or loose items that block the doors you want to reach. Put nearby papers somewhere dry. You should be able to stand comfortably and see the lower edge without balancing on a chair or stretching across the counter. Leave high cabinets for a safely planned visit.
Choose one door as your starting point. If the surface is sound and its care directions allow it, lift loose dust with a clean, soft cloth. Fold the cloth so a clean edge reaches the recess without forcing it into the joint. Avoid scraping along the panel with a blade, pin, or kitchen utensil.
The narrow ledge needs attention even when the flat panel looks clean.
Keep the cleaning pass gentle
For residue that needs more than dusting, use only a cleaner and method approved for that finish. Test an inconspicuous spot first. Follow the product directions for dilution and application; don't make a stronger mixture because the groove is narrow. Keep liquid from collecting in seams or around the hardware.
Work in short sections with a clean part of the cloth. Remove cleaner residue as the care directions require, and dry the area rather than leaving droplets along the frame. Give the test spot time to dry fully before comparing it with the rest of the door. A wet surface can hide a change in sheen.
Know when to leave a mark alone
Stop if the cloth picks up finish color, the surface feels soft, or an edge starts lifting. Cleaning cannot repair peeling paint or a damaged panel. Take a photo for your own reference and describe the location to whoever maintains the cabinets. Skip any area that seems loose or swollen.
Once the safe section is dry, look at it from your usual standing position. The aim is to remove accessible buildup while keeping the original surface intact. You don't have to chase every shadow in a recessed joint. It may simply be the shape of the door catching the light.
Put the cabinet detail on the visit notes
If you are arranging house cleaning in Tinton Falls, mention these recessed cabinet edges instead of writing only “kitchen.” Say which doors matter most and share the finish instructions. Cabinet interiors, high areas, and damaged surfaces need their own discussion.
For a more detailed visit, review the Tinton Falls deep-cleaning page and ask whether the requested cabinet work fits the planned scope. You can use Luisa's in-home estimate page to discuss access and priorities. Leave the cabinet maker's care sheet with the notes so the method can be agreed before anyone begins.
Illustrative images generated with ChatGPT; video uses gentle camera motion over an illustrative image. These are not customer homes or completed jobs.